Imagine the perfect dessert: a symphony of textures and flavors that captivates both the eyes and the palate. Envision a crisp, golden-brown shell of buttery puff pastry, giving way to a rich, creamy filling, all enveloped in the intense embrace of decadent dark chocolate. This isn't just a dream; it's the reality of homemade Double Chocolate Cream Horns. Often perceived as a patisserie exclusive, these showstopping treats are surprisingly accessible for the home baker, promising a gourmet experience that will earn you rave reviews.
There's a special kind of magic that happens when classic techniques meet inspired flavors. Our guide today focuses on elevating the traditional cream horn with a luxurious double dose of chocolate: a dark chocolate lining within the pastry and an elegant drizzle on top. This isn't merely an addition; it's a transformation, creating a dessert that is not only visually stunning but also offers an unforgettable depth of flavor. If you've never ventured into making cream horns, now is truly the perfect time to discover the joy of crafting these beautiful, utterly delicious delights.
The Allure of Dark Chocolate Cream Horns: More Than Just a Dessert
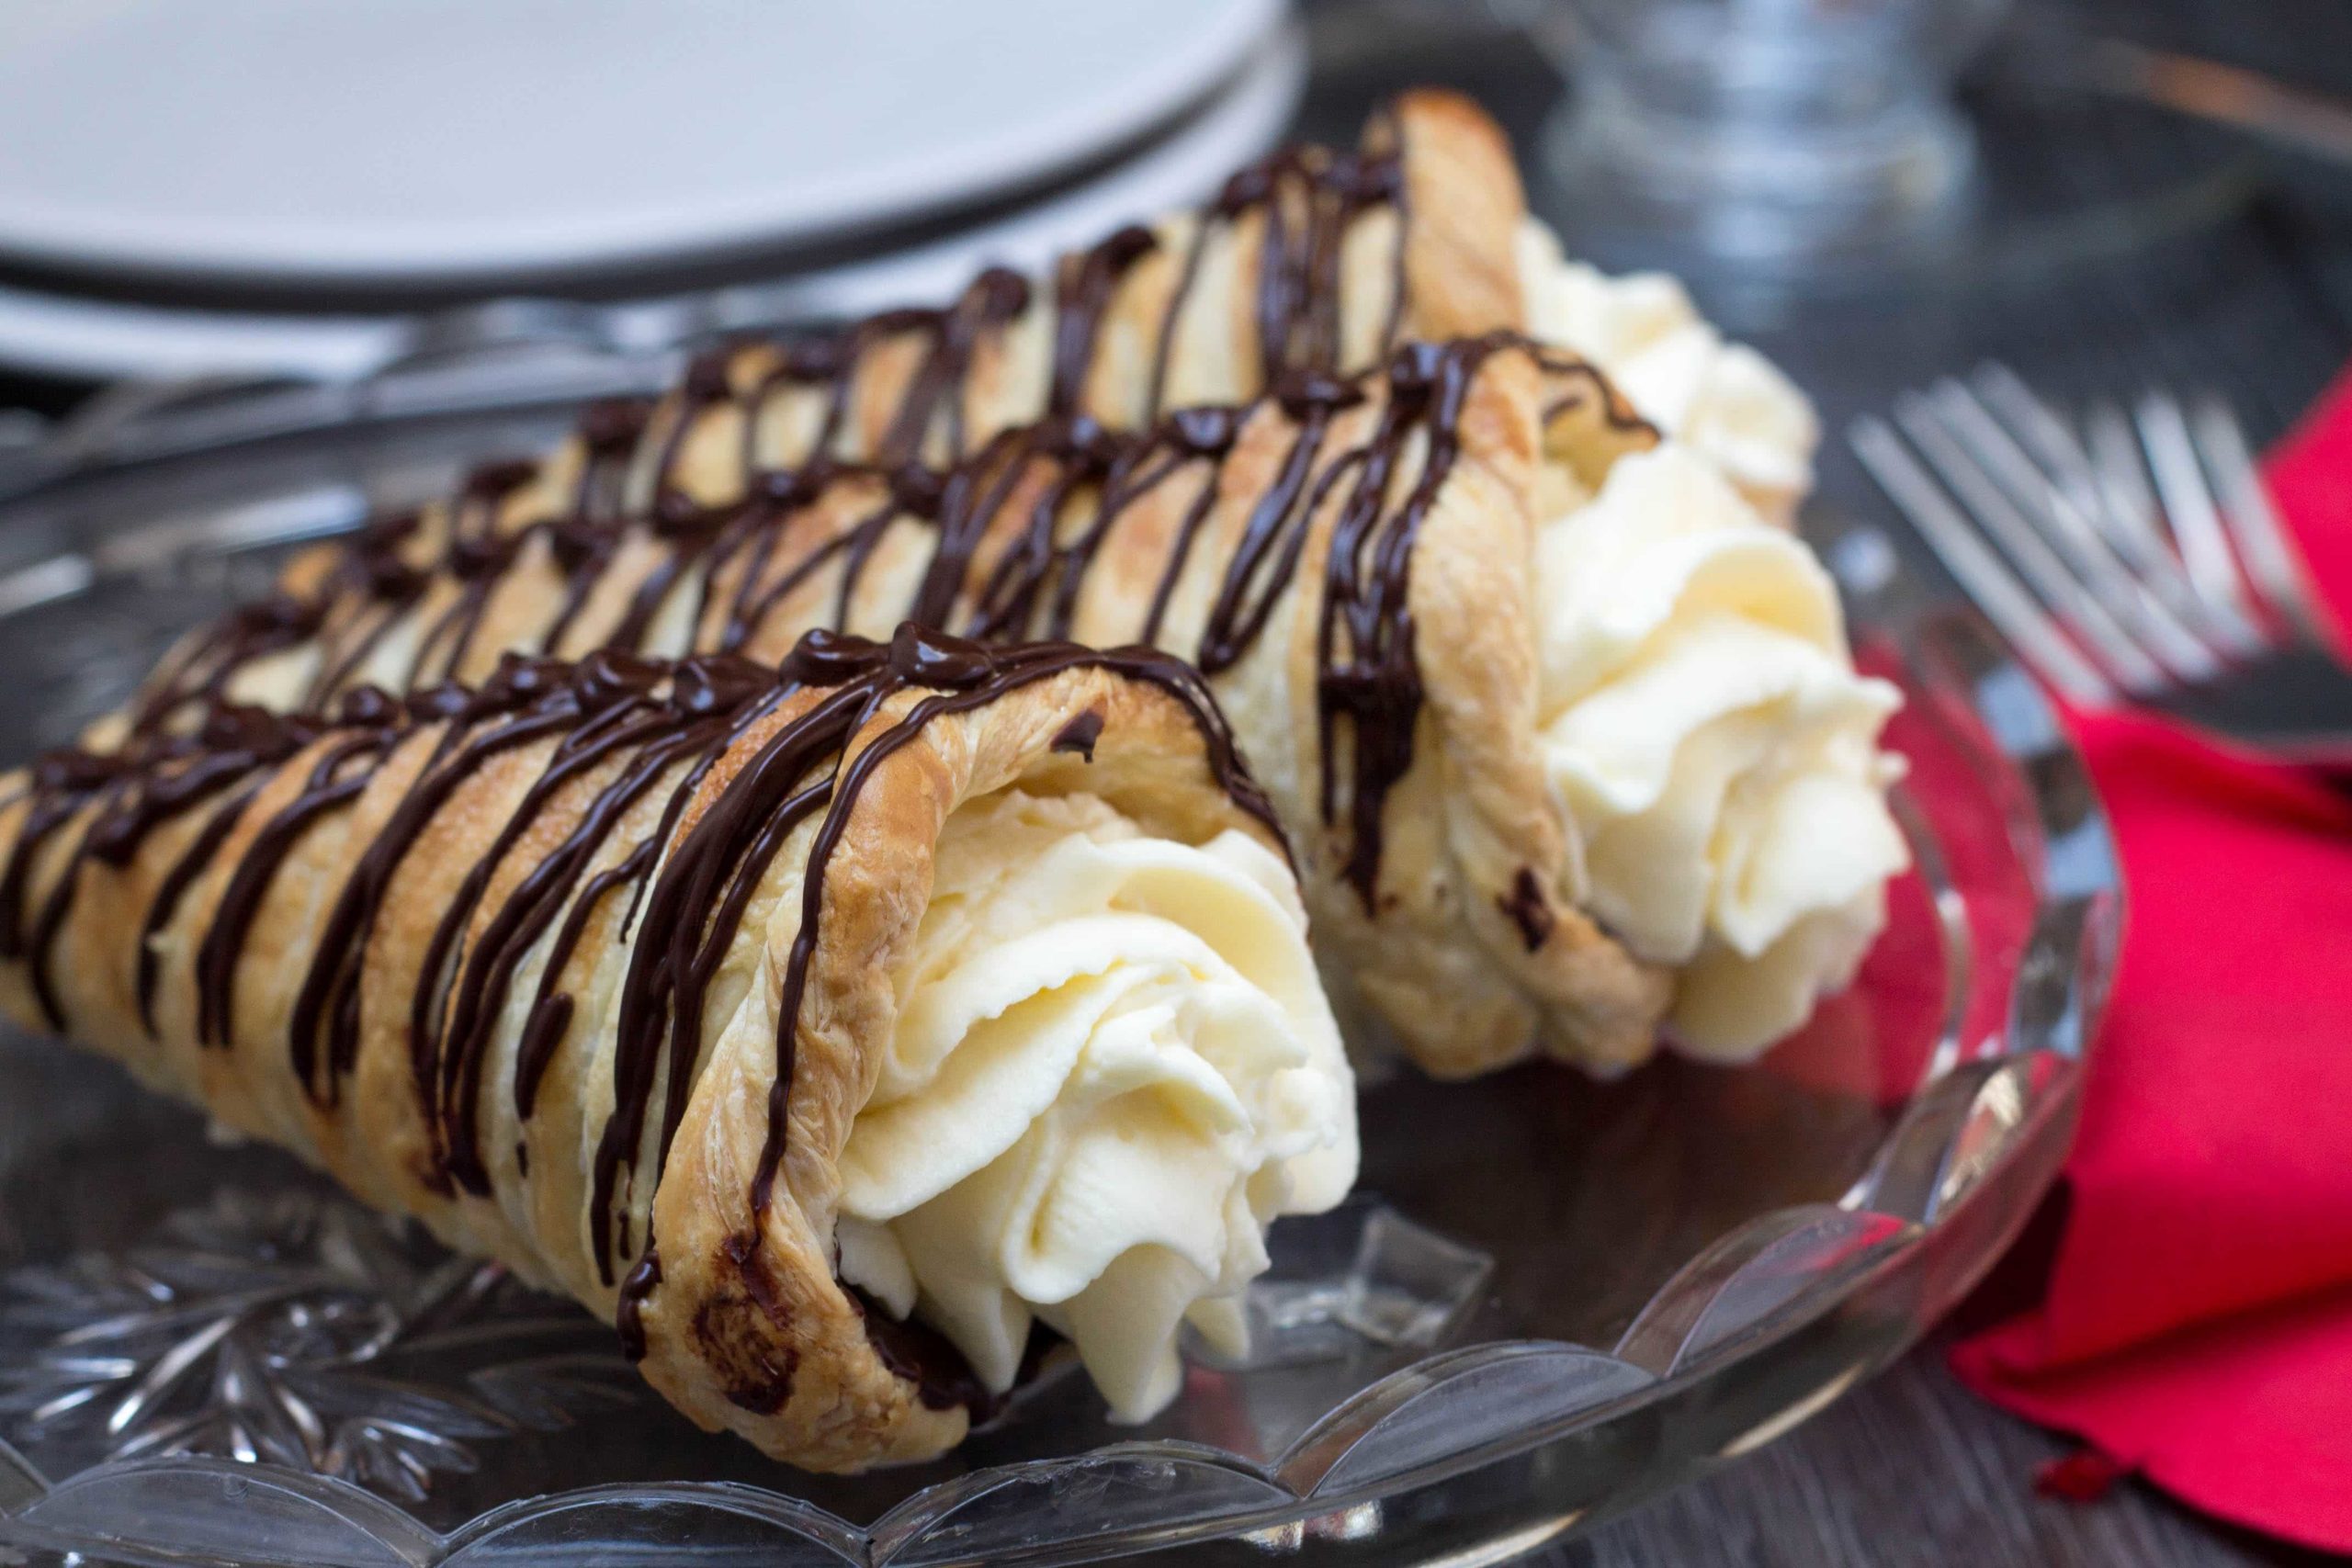
What makes dark chocolate cream horns so incredibly captivating? It's a masterful blend of contrasts and complementary elements. Firstly, there's the puff pastry itself. Baked to a perfect crisp, its countless delicate layers shatter with each bite, offering a satisfying crunch that's incredibly addictive. This texture provides a beautiful counterpoint to the silky, ethereal Chantilly cream within, a cloud of vanilla-scented sweetness that melts on the tongue.
But the true star, and what elevates these to a "double chocolate" masterpiece, is the dark chocolate. A thin, molten layer of rich dark chocolate coats the inside of each pastry horn, serving two crucial purposes: it creates a barrier to prevent the cream from softening the pastry too quickly, ensuring that delightful crispness lasts, and more importantly, it infuses every bite with an intense, sophisticated chocolate flavor. This internal layer is then complemented by a final artistic flourish of dark chocolate drizzle on top, adding both visual appeal and another touch of bittersweet elegance.
These magnificent creations are not just for special occasions, though they certainly make a spectacular centerpiece for any dinner party or celebration. There's an immense satisfaction in presenting a dessert that looks so professional, yet was lovingly crafted in your own kitchen. The gasps of delight, the beaming smiles, and perhaps even a happy dance from an enthusiastic taste-tester, as experienced by many home bakers, are the ultimate testament to the irresistible charm of dark chocolate cream horns. They’re a true testament to the idea that indulgence doesn't have to be complicated, just thoughtfully executed.
Gathering Your Arsenal: Essential Ingredients and Clever Tools
Creating these exquisite dark chocolate cream horns begins with selecting quality ingredients and assembling the right tools. While they appear intricate, the process is streamlined thanks to a few clever hacks.
Key Ingredients: Quality Matters
- Frozen Puff Pastry: This is your secret weapon for efficiency. Opt for an all-butter puff pastry for the best flavor and flakiness. Ensure it's thawed according to package directions, but kept cold.
- Premium Dark Chocolate: Since chocolate is a dominant flavor, choose a good quality dark chocolate with a cocoa percentage you enjoy (around 60-70% bittersweet is often ideal). This will be used for both the internal coating and the decorative drizzle.
- Heavy Whipping Cream: For your Chantilly cream, use cold heavy whipping cream (at least 36% milk fat) for best whipping results.
- Powdered Sugar & Vanilla Extract: These sweeten and flavor the cream. A touch of skimmed milk powder, as suggested in some professional recipes, can also be added to stabilize the cream, making it hold its shape longer.
- Egg & Water (for Egg Wash): This simple mixture creates that beautiful golden sheen and helps the granulated sugar adhere.
- Granulated Sugar: A sprinkle on the pastry before baking adds a lovely crunch and sweetness.
Ingenious Tools: No Special Molds Needed!
- Sugar Ice Cream Cones: Forget expensive metal cream horn molds! A brilliant alternative is to use ordinary sugar ice cream cones. They provide the perfect conical shape and are readily available.
- Non-Stick Aluminum Foil: Essential for wrapping the ice cream cones. This prevents the pastry from sticking and allows for easy removal after baking. Wrap each cone tightly and completely, tucking any excess foil into the cone's cavity. For more on this clever method, check out our guide on No-Mold Dark Chocolate Cream Horns: Use Ice Cream Cones!
- Rolling Pin & Pastry Wheel/Knife: For rolling out and cutting the pastry.
- Baking Sheet: Lined with parchment paper for non-stick baking.
- Piping Bag & Star Tip: For elegantly filling the horns with cream and drizzling the chocolate. A small snip off the end of a disposable piping bag works perfectly for the chocolate drizzle if you don't have a star tip.
Crafting Your Masterpiece: A Step-by-Step Guide to Dark Chocolate Cream Horns
With your ingredients and tools at the ready, let's dive into the creation of these showstopping dark chocolate cream horns. While the process has several steps, each one is straightforward and rewarding.
- Prepare Your Molds: Take your 6 sugar ice cream cones and meticulously wrap each one with non-stick aluminum foil. Ensure there are no gaps and any excess foil is tucked securely into the cone's opening. This tight wrap is critical for easy pastry removal.
- The Pastry Foundation: Lightly flour your work surface and roll out the thawed puff pastry sheet to a generous rectangle, approximately 12 x 18 inches. Trim the edges neatly to create clean lines. Then, using a pastry wheel or sharp knife, slice the pastry lengthwise into 15 even strips, each roughly 1 inch wide and 15 inches long. Set aside 3 of these strips, cutting them in half, for decorative edges.
- Forming the Horns: Begin with one of the longer pastry strips. Starting at the pointed end of a foil-wrapped cone, wrap the pastry strip around and up the cone in an overlapping spiral. Each twist should overlap the previous one by about one-third, ensuring no gaps. Crucially, if you have any extra pastry at the top, snip it off; do not tuck it into the cone, as this will make removal incredibly difficult after baking. For added decorative flair, gently twist the smaller pastry strips and wrap them around the very top edge of each horn.
- Egg Wash & Sugar Sprinkle: In a small bowl, whisk one egg with two tablespoons of water to create an egg wash. Lightly brush the exterior of each pastry-wrapped cone with the egg wash – a thin, even coat is all you need. Immediately sprinkle granulated sugar over the washed pastry for a delightful caramelized crunch.
- Chill & Bake: Carefully place the pastry-wrapped cones on a baking sheet, ensuring any "messy" ends are faced downwards. Chill them in the refrigerator for about 15 minutes. While they chill, preheat your oven to 400°F (200°C). Bake for 20-25 minutes, or until the pastry is puffed, golden brown, and deeply crisp.
- Cooling & Unmolding: Once baked, remove the horns from the oven. Let them cool slightly on the baking sheet before very carefully removing the foil-wrapped cones from the pastry shells. The foil should separate easily from the pastry. Place the hollow pastry horns on a wire rack to cool completely.
- The Double Chocolate Secret – Internal Lining: While the horns cool, melt 6 ounces of dark chocolate with 3 tablespoons of butter and 2 tablespoons of golden syrup (or corn syrup) using a double boiler or microwave, stirring until smooth and glossy. Once the pastry horns are completely cool, take a tablespoon of the melted dark chocolate mixture and carefully spread it around the inside of each horn, ensuring an even coating. This not only adds intense flavor but also helps to keep the pastry crisp. Allow the chocolate lining to set completely, which can be sped up by placing them in the refrigerator for a few minutes.
- Chantilly Cream Perfection: In a very cold bowl (preferably metal, chilled beforehand), combine 1¼ cup heavy whipping cream, 6-8 tablespoons powdered sugar, 1 teaspoon vanilla extract, and 1 tablespoon skimmed milk powder (if using). Whip with an electric mixer on medium-high speed until firm peaks form. Be careful not to over-whip, or you'll end up with butter!
- Fill & Decorate: Transfer the Chantilly cream to a piping bag fitted with a star tip (or a plain round tip). Pipe the cream generously into each chocolate-lined pastry horn, filling it completely. For the final touch, melt a small amount of additional dark chocolate and drizzle it decoratively over the filled cream horns using a piping bag with a tiny snip at the end, or a spoon.
- Set & Serve: Allow the chocolate drizzle to set on a cooling rack for a few minutes. Then, serve your magnificent dark chocolate cream horns and enjoy the compliments!
Tips for Cream Horn Nirvana and Creative Variations
Achieving cream horn perfection is within your grasp with a few key tips and an open mind for creative twists.
Mastering the Perfect Cream Horn: Pro Tips
- Keep Your Pastry Cold: Puff pastry is all about butter layers. If the pastry gets too warm, the butter melts out before baking, resulting in a less flaky texture. Work quickly and re-chill the pastry strips or formed horns if they start to feel soft.
- Don't Overlap Pastry Too Much: While overlapping is necessary, too much can create overly thick areas that don't bake evenly or crisp up properly. Aim for that one-third overlap.
- Melt Chocolate Carefully: Dark chocolate can seize if exposed to too much heat or water. Use a double boiler for gentle, even melting, or microwave in short bursts, stirring frequently, until just melted and smooth. For an ultra-glossy finish, ensure your tools are completely dry.
- Chill Your Cream Bowl: For the best Chantilly cream, a cold bowl and cold whisk attachments will help your heavy cream whip up faster and hold its volume longer.
- Don't Over-Whip the Cream: Stop whipping as soon as firm peaks form. Over-whipped cream becomes grainy and can quickly turn into butter.
- Cool Completely: Ensure your pastry horns are completely cool before adding the melted chocolate and then again before adding the cream. Warm pastry will melt the chocolate and the cream.
- Serve Fresh: While the internal chocolate lining helps maintain crispness, cream horns are always best enjoyed the day they are made. If you need to prepare ahead, you can bake the pastry shells and make the chocolate lining a day in advance, storing them in an airtight container at room temperature. Fill with cream just before serving.
Creative Variations to Explore
- Alternative Fillings: While Chantilly cream is divine, don't shy away from other options. A rich vanilla bean custard or even a lemon curd could offer a delightful contrast to the dark chocolate.
- Fruity Accents: Garnish your filled horns with fresh raspberries, sliced strawberries, or a sprig of mint for a pop of color and complementary flavor.
- Different Chocolate: Experiment with milk chocolate or even white chocolate for the internal lining or drizzle, though the intensity of dark chocolate truly makes this recipe shine.
- Nutty Crunch: Before the final chocolate drizzle sets, sprinkle with finely chopped toasted nuts like pistachios or hazelnuts for added texture and flavor.
- Spice It Up: A pinch of cinnamon or a tiny dash of cayenne pepper (for a Mexican hot chocolate twist) could be added to your melted dark chocolate for an adventurous flavor profile.
These tips and variations encourage you to personalize your dark chocolate cream horns, making them truly your own. The ease of making these is often surprising, proving that impressive desserts are well within the reach of any home baker.
Ready to impress with flaky pastry? Dive into the full recipe for Easy Dark Chocolate Cream Horns: Impress with Flaky Pastry and elevate your baking game.
Double Chocolate Cream Horns are more than just a dessert; they are an experience. From the satisfying crunch of the buttery pastry to the silky embrace of the Chantilly cream and the intense, lingering flavor of dark chocolate, every element works in harmony to create a truly unforgettable treat. They may look like they came straight from a gourmet bakery, but with a little patience and our detailed guide, you can craft these showstopping beauties right in your own kitchen. So, gather your ingredients, unleash your inner pastry chef, and prepare to delight everyone with these magnificent, indulgent creations. Your next baking triumph awaits!
