Easy Dark Chocolate Cream Horns: Impress with Flaky Pastry
Imagine a dessert that looks like it took hours of intricate work, yet comes together with surprising simplicity. We're talking about
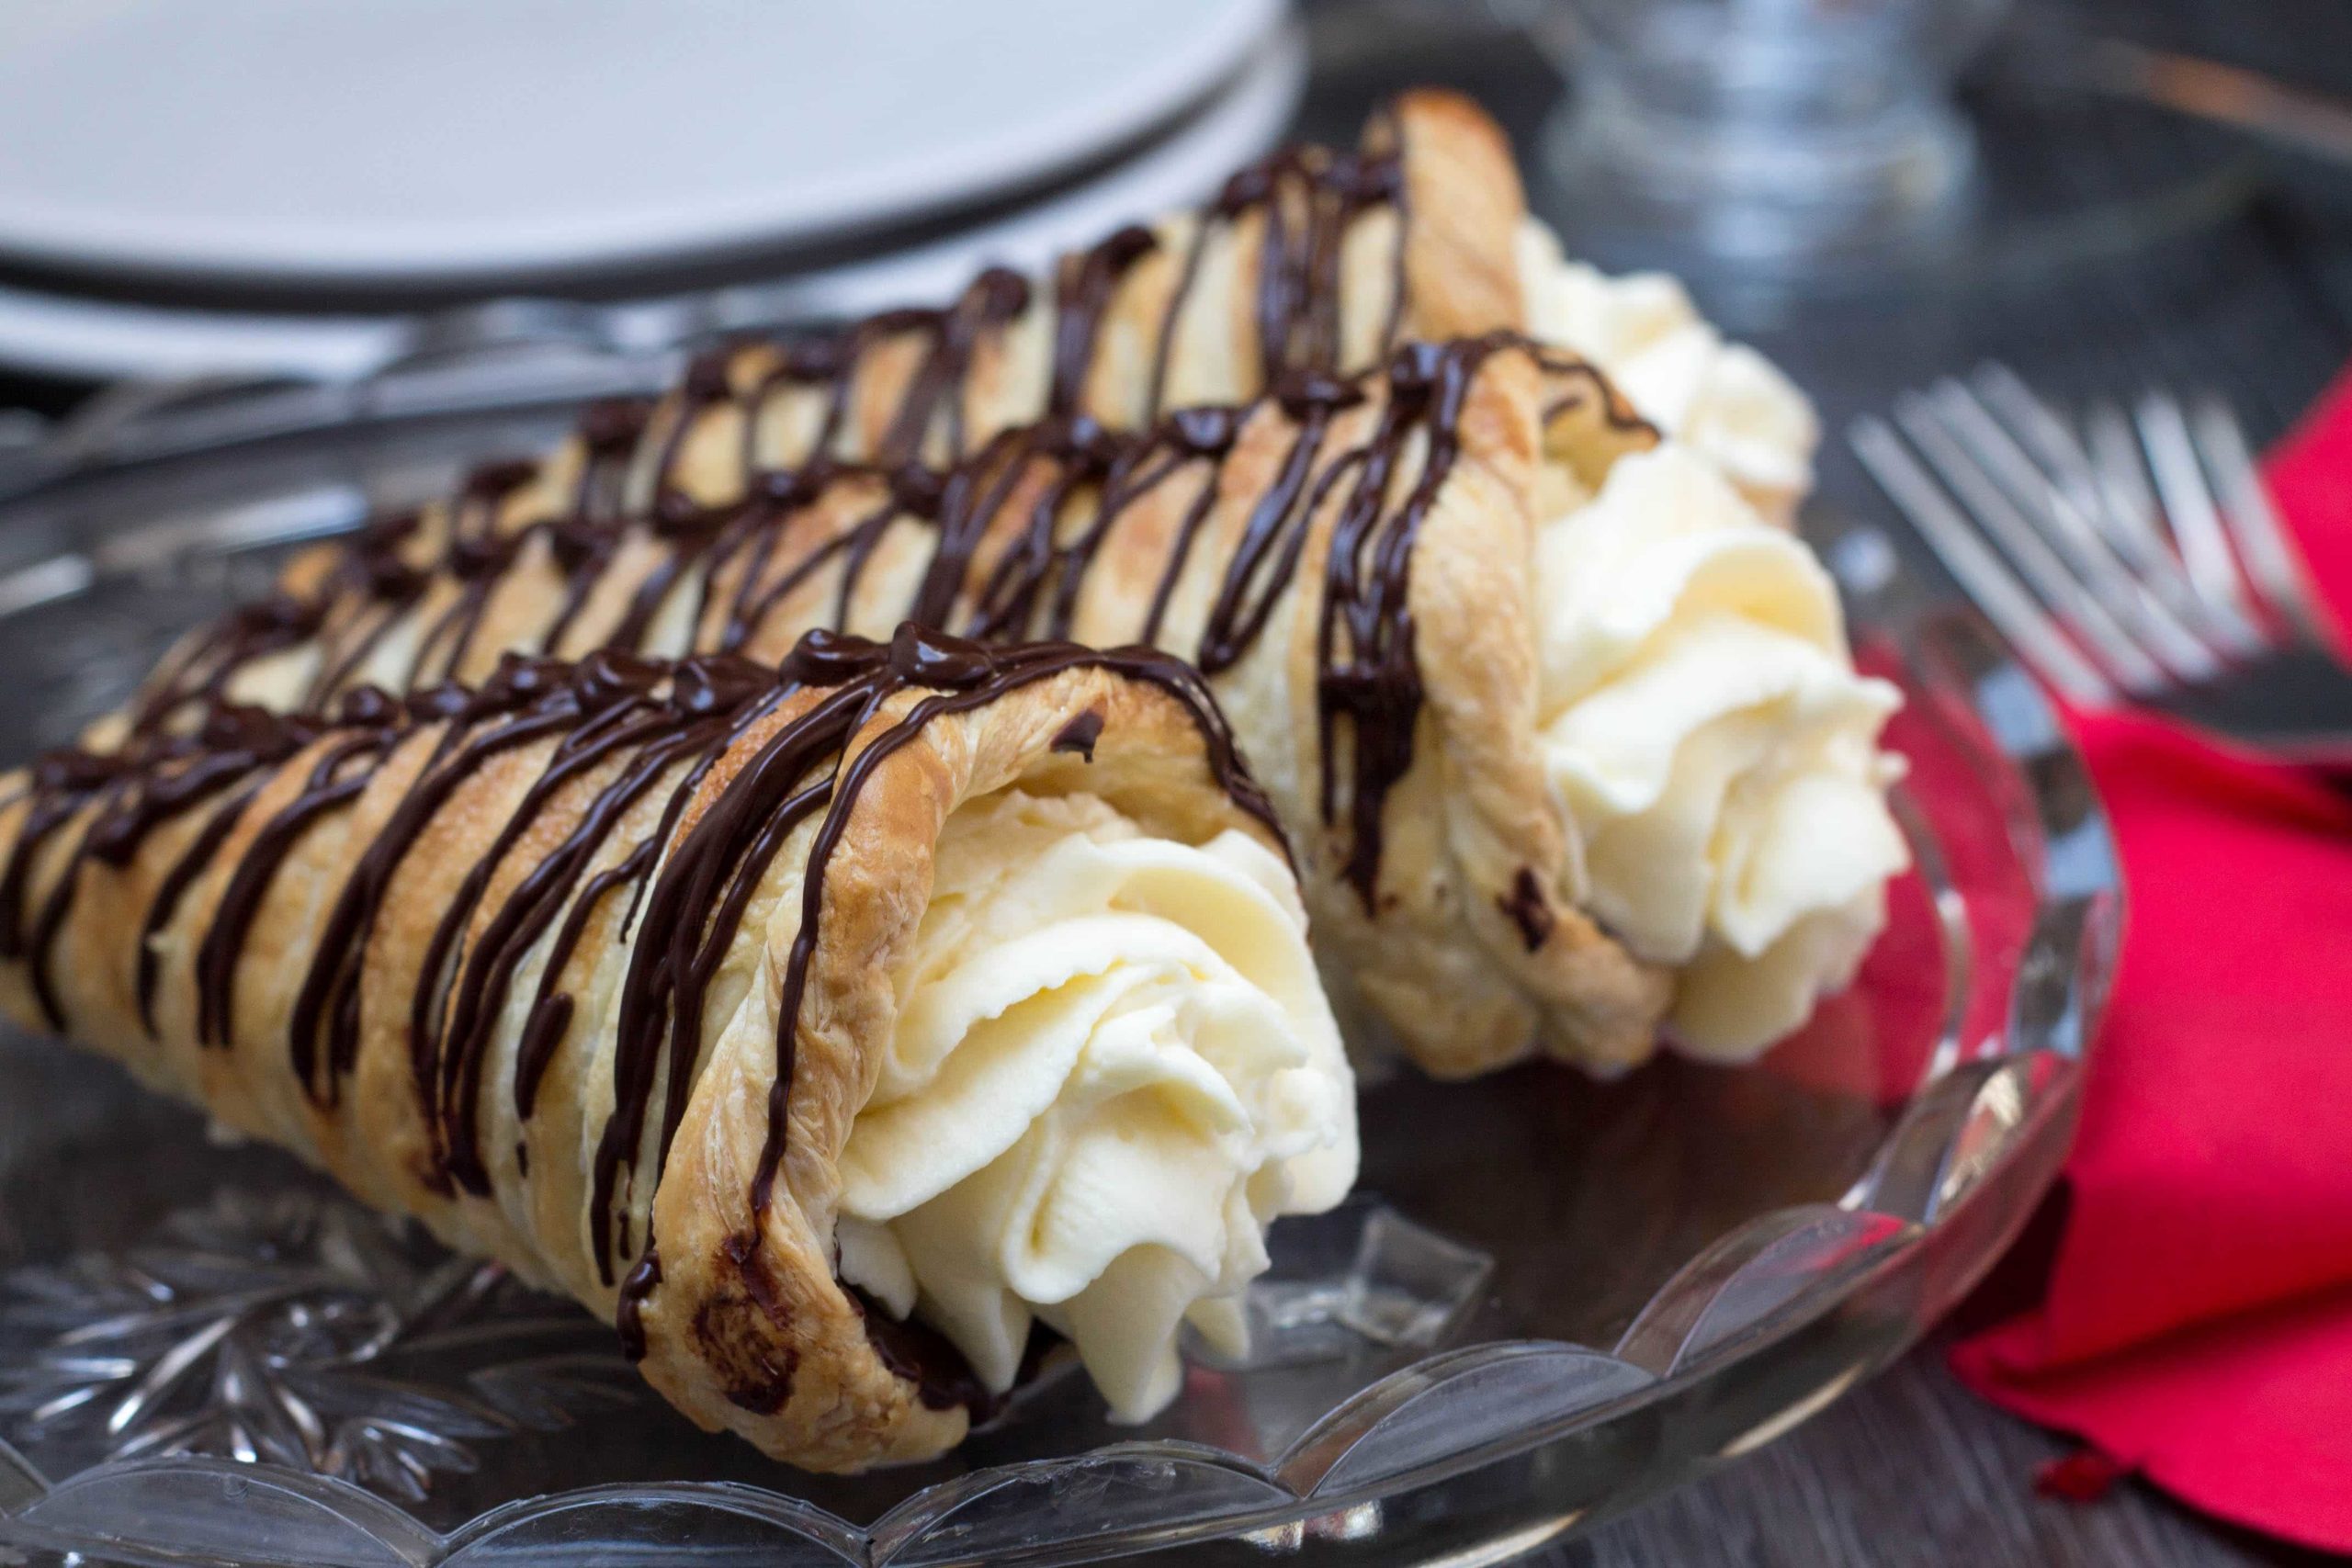
dark chocolate cream horns – those elegant, spiral pastries, perfectly crisp and golden, cradling a luscious filling of rich dark chocolate and velvety Chantilly cream. They are an absolute showstopper, turning any meal into a special occasion and leaving your guests utterly captivated. While their appearance might suggest a challenging culinary feat, we're here to reveal just how accessible and rewarding making these beauties can be, proving that an impressive dessert doesn't have to be complicated.
The Foundation: Crafting Flaky Pastry Perfection
The secret to the irresistible texture of a cream horn lies in its pastry: light, airy, and shatteringly crisp puff pastry. Don't let the thought of making puff pastry from scratch intimidate you; high-quality store-bought frozen puff pastry is a fantastic shortcut that delivers professional results every time. The real craft comes in shaping it into those iconic horn forms.
Traditionally, cream horns are made using specific metal molds. However, for a brilliant and budget-friendly hack, you can easily use sugar ice cream cones wrapped in non-stick aluminum foil! This clever trick means anyone can make these impressive treats without investing in specialized equipment. In fact, if you're curious about this ingenious method, check out our guide on
No-Mold Dark Chocolate Cream Horns: Use Ice Cream Cones! It’s a game-changer for home bakers.
Once your cones are prepared, the process of wrapping the pastry is straightforward. On a lightly floured surface, roll out your thawed puff pastry sheet to a rectangular dimension, typically around 12x18 inches. Trim the edges for a neat finish, then slice the pastry along its length into consistent strips, about an inch wide and 15 inches long. For decorative edges, you can cut a few strips in half and gently twist them. Starting from the pointed end of your foil-wrapped cone, meticulously wrap a pastry strip, overlapping each twist by approximately one-third. This overlapping is crucial for creating a seamless, sturdy horn that bakes evenly. Resist the urge to tuck any excess pastry into the cone's opening; instead, snip it off to ensure easy removal after baking. Finally, brush the wrapped horns sparingly with a simple egg wash (one egg beaten with a little water) and sprinkle with granulated sugar for a beautiful golden sheen and a hint of sweetness. Chilling them briefly before baking also helps the pastry hold its shape and achieve maximum flakiness.
The Indulgence Within: Dark Chocolate & Velvety Cream
While the flaky pastry is a star in its own right, what truly elevates these desserts to heavenly status is their rich, decadent filling. Our
dark chocolate cream horns feature a delightful double dose of chocolate, making them a dream for any cocoa enthusiast.
First, let's talk about that exquisite dark chocolate lining. Once your pastry horns are baked to perfection and cooled, they're ready for their initial layer of luxury. Melt a high-quality dark chocolate – aim for at least 60% cocoa solids for that intense, bittersweet flavor that balances the sweetness of the cream. You'll want to melt it carefully, perhaps with a touch of butter and golden or corn syrup to give it a beautiful sheen and a smooth consistency that's easy to spread. Using a spoon or a small piping bag, spread a generous tablespoon of the melted chocolate into the inside of each horn. This creates a protective barrier for the pastry and, more importantly, adds an incredible burst of chocolatey goodness with every bite. Allow this layer to set completely before proceeding.
Next comes the cloud-like Chantilly cream. This isn't just any whipped cream; it's a carefully prepared, sweetened, and subtly flavored cream that provides the perfect counterpoint to the dark chocolate. Combine cold heavy whipping cream (at least 35% fat), powdered sugar, a splash of pure vanilla extract, and a touch of skimmed milk powder (the milk powder helps stabilize the cream, giving it a firmer, longer-lasting texture that holds up better). Whip these ingredients until you achieve stiff peaks – a light, airy, and luscious consistency that holds its shape beautifully. Transfer your Chantilly cream to a piping bag fitted with a star tip (or simply snip the end of a disposable bag for a rustic look). Pipe the cream generously into each chocolate-lined horn, filling it to the brim. For the final flourish, drizzle or pipe additional melted dark chocolate decoratively over the top of the filled horns. The visual appeal alone will have eyes lighting up! For even more decadent chocolate inspiration, especially if you can't get enough, you might enjoy our article:
Double Chocolate Cream Horns: Your Showstopping Dessert Guide.
Your Recipe for Easy Success: A Step-by-Step Guide
Ready to create your own batch of these stunning
dark chocolate cream horns? Here’s a streamlined guide designed for success, even if you’re new to pastry making:
- Prepare Your Molds: Wrap 6 sugar ice cream cones tightly in non-stick aluminum foil, covering them completely and tucking any excess foil securely inside the cone cavity. Set aside.
- Make Egg Wash: In a small bowl, beat 1 egg with 2 tablespoons of water. Set aside.
- Roll & Cut Pastry: On a lightly floured surface, roll out one sheet of thawed frozen puff pastry to approximately 12 x 18 inches. Trim the edges neatly, then slice the pastry lengthwise into 15 strips, about 1 inch wide and 15 inches long. Cut 3 of these strips in half for decorative twists.
- Shape the Horns: Starting at the pointed end of a foil-wrapped cone, wrap a long pastry strip around it, overlapping each turn by about a third as you go. Snip off any excess pastry at the top (do not tuck it in). Gently twist and wrap the smaller half-strips around the top rim of each horn for a finished look.
- Egg Wash & Sugar: Lightly brush each pastry-wrapped cone with the prepared egg wash, then sprinkle generously with granulated sugar.
- Chill & Bake: Arrange the pastry cones on a baking sheet, placing any messy ends face down. Chill for 15 minutes while your oven preheats to 400°F (200°C). Bake for 20-25 minutes, or until golden brown and puffed.
- Cool & Remove: Carefully remove the baked pastry horns from the cones while they are still warm (but not too hot to handle). Place them on a wire rack to cool completely.
- Chocolate Inside: Melt 6 ounces of quality dark chocolate with 3 tablespoons of butter and 2 tablespoons of golden or corn syrup until smooth. Carefully spread a tablespoon of melted chocolate into the inside of each cooled horn and let it set completely at room temperature or briefly in the fridge.
- Whip the Cream: In a cold bowl, combine 1¼ cup cold heavy whipping cream, 6-8 tablespoons powdered sugar (to taste), 1 teaspoon vanilla extract, and 1 tablespoon skimmed milk powder. Whip until stiff peaks form.
- Fill & Decorate: Transfer the Chantilly cream to a piping bag (with a star tip if desired) and generously fill each chocolate-lined horn. Drizzle the remaining melted dark chocolate over the tops of the filled horns for a stunning final touch.
- Set & Serve: Allow the chocolate decoration to set slightly on a cooling rack before serving. Enjoy these magnificent treats!
Elevating Your Dessert Experience
Serving your homemade
dark chocolate cream horns is an experience in itself. Arrange them beautifully on a platter, perhaps with a dusting of cocoa powder or a few fresh berries for an added pop of color and freshness. They are perfect for afternoon tea, a sophisticated dinner party dessert, or simply as a special treat to brighten any day. The crisp pastry, rich chocolate, and light cream create a symphony of textures and flavors that is truly unforgettable.
Customization Ideas: While the classic dark chocolate and Chantilly cream is divine, don't hesitate to get creative. Consider adding a hint of orange zest to your chocolate for a citrusy twist, or a dash of espresso powder to the cream to deepen its flavor. A touch of liqueur, like Grand Marnier or Kahlúa, can also elevate the cream. If you're a fan of different fillings, try a lemon curd, a rich pastry cream (custard), or even a hazelnut spread for an entirely new flavor profile. The beauty of these horns is their versatility!
Make-Ahead & Storage Tips: The pastry horns can be baked and cooled a day in advance. Store them in an airtight container at room temperature to maintain their crispness. The chocolate lining can also be done ahead of time. Prepare your Chantilly cream just before serving or no more than a few hours in advance, as whipped cream is best enjoyed fresh. Assemble the cream horns closer to serving time to ensure the pastry remains crisp and the cream perfectly fresh. Leftovers, if there are any, should be stored in the refrigerator and consumed within 1-2 days, though the pastry may soften slightly.
There's an undeniable joy in presenting a dessert that looks incredibly impressive yet was surprisingly straightforward to make. These
easy dark chocolate cream horns are precisely that – a testament to how simple ingredients and smart techniques can yield a truly showstopping result. From the buttery, flaky pastry to the intense dark chocolate and the pillowy Chantilly cream, every element comes together to create a dessert that will earn you rave reviews and perhaps even a happy dance or two from delighted guests. So, roll up your sleeves, embrace the ease, and prepare to impress everyone with these divine culinary creations.